
(featuring my first real factory made PCB)
It’s been a while since I built the garage-door-proof-of-concept-remote. As stated in the according post, the “industrial design” part of the PoC managed to be flimsy and clunky at the same time. So there was some room for improvement.
Back when I still thought the original remote was using 434 MHz, I bought two little “cloning remotes” or at least so I thought. I was eager to save a few Euros, so I got mine from some shady Chinese eBay-shop, and sure enough the ones I bought were far from capable of cloning anything. Instead they just sent out fixed codes, no matter what I tried. Well, at least they did something.
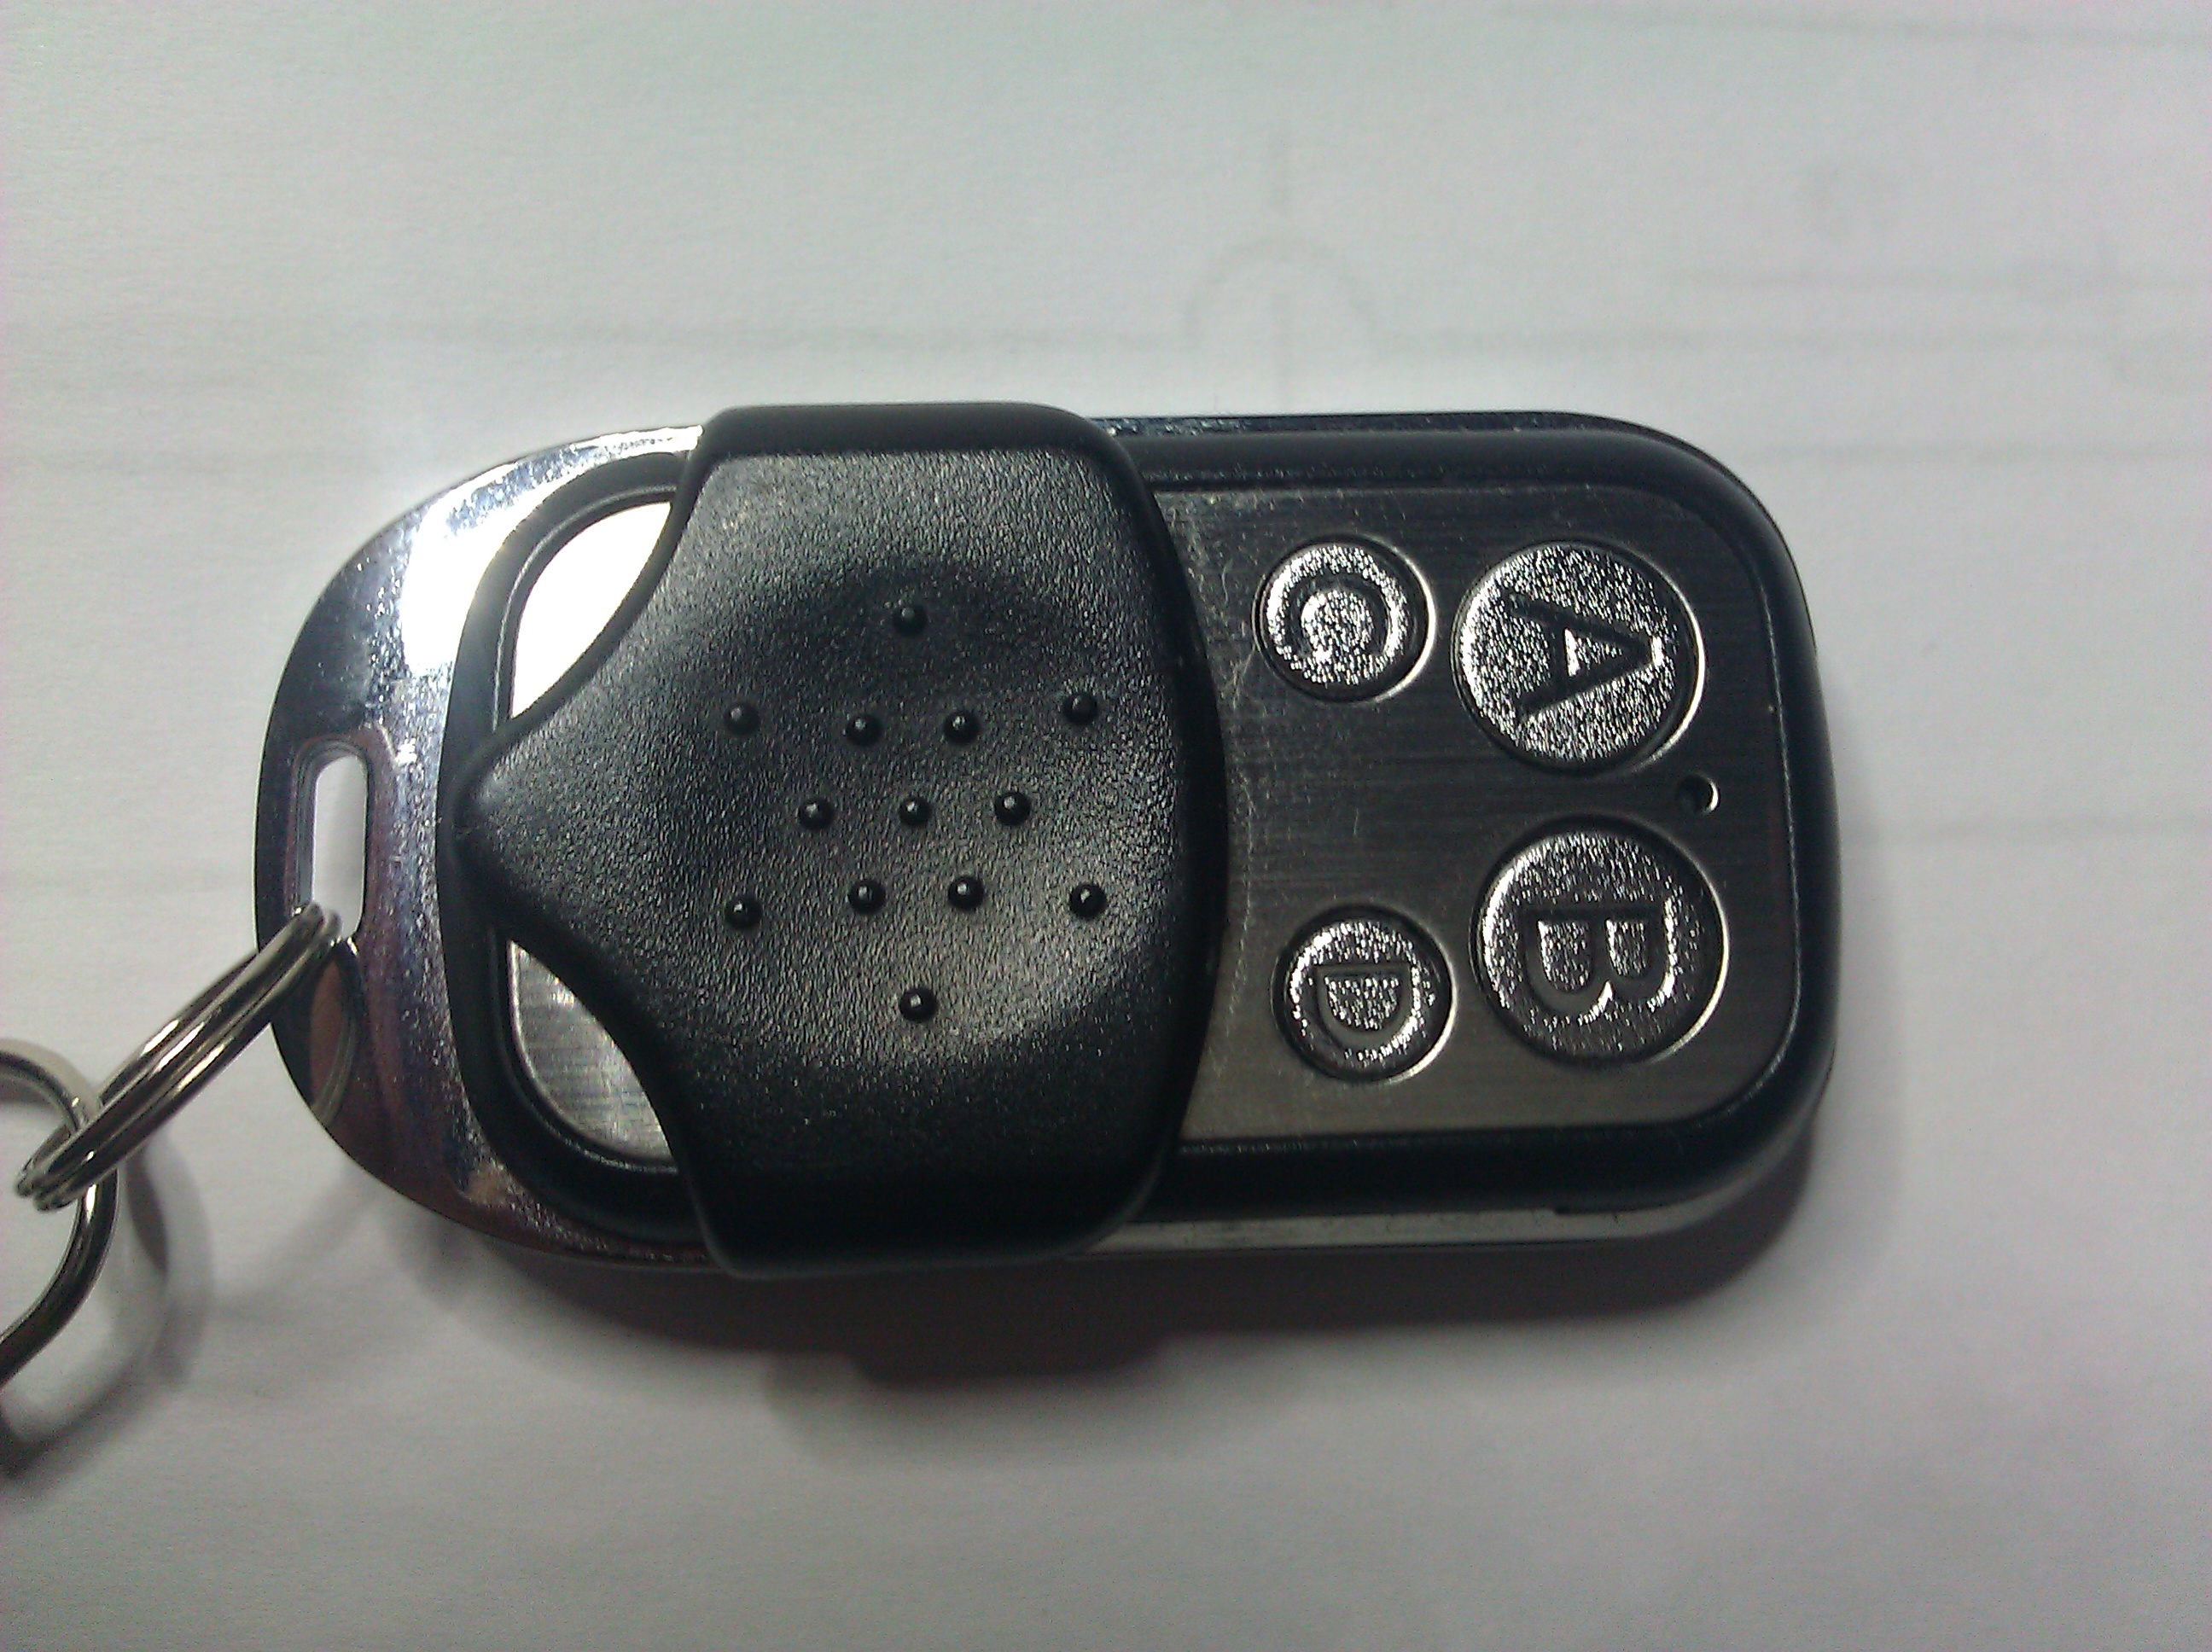 |
| The enclosure. |
But even if I had gotten the “real” ones, it wouldn’t have helped a bit, because those still would only work with 434 MHz and I needed 868 MHz.
So there I was with my homemade (but working) remote and my two Chinese knockoffs. Even though those were useless, I still liked the enclosure and started wondering if I could just use that and design my own PCB to put inside. I could even harvest a few parts of the original PCBs, like the buttons and the blue LED.
 |
| The disassembled remote and the original PCB. They use a 12V battery for the 434 MHz transmitter. |
The first thing I did was to take measurements of the original PCB and transfer that to a simple Eagle layout. After quintuple checking the positions of every hole, notch, button and the LED I locked their positions so that I wouldn’t accidentally move them out of place later in the process.
 |
| The back of the board on a scanner. |
 |
| And the front. At first I tried to take measurements from the scan, but I soon realized I would have to get a caliper. |
The problem with my layout was that it would not work with the kind of PCBs I could make on the CNC router at the Attraktor because the board would have to be double sided and I’ve tried to make a double sided board before and failed miserably. So I had to have the board for this project manufactured in a real fab house. The problem with that is that it’s really expensive for low volumes. If I had the board made on my own in Germany it would have cost me about $50. So that wasn’t an option.
By chance a friend told me about the dorkbot PCB-service (now called OSHPark). This is an extremely cool service run by a guy who started out collecting PCB layouts for his local hackerspace and put them all together on a big panel to reduce manufacturing cost. To fill up the panels quicker he opened his service to the public, so that is where I went.
 |
| My Idea of a garage door remote in Eagle. Except for the antenna on the right I was really lazy and let Eagle autoroute most of the traces, which wasn’t too brilliant. |
Having the boards made and shipping them across half the globe takes about 4-6 weeks, so after a long wait I finally had these in the mail:
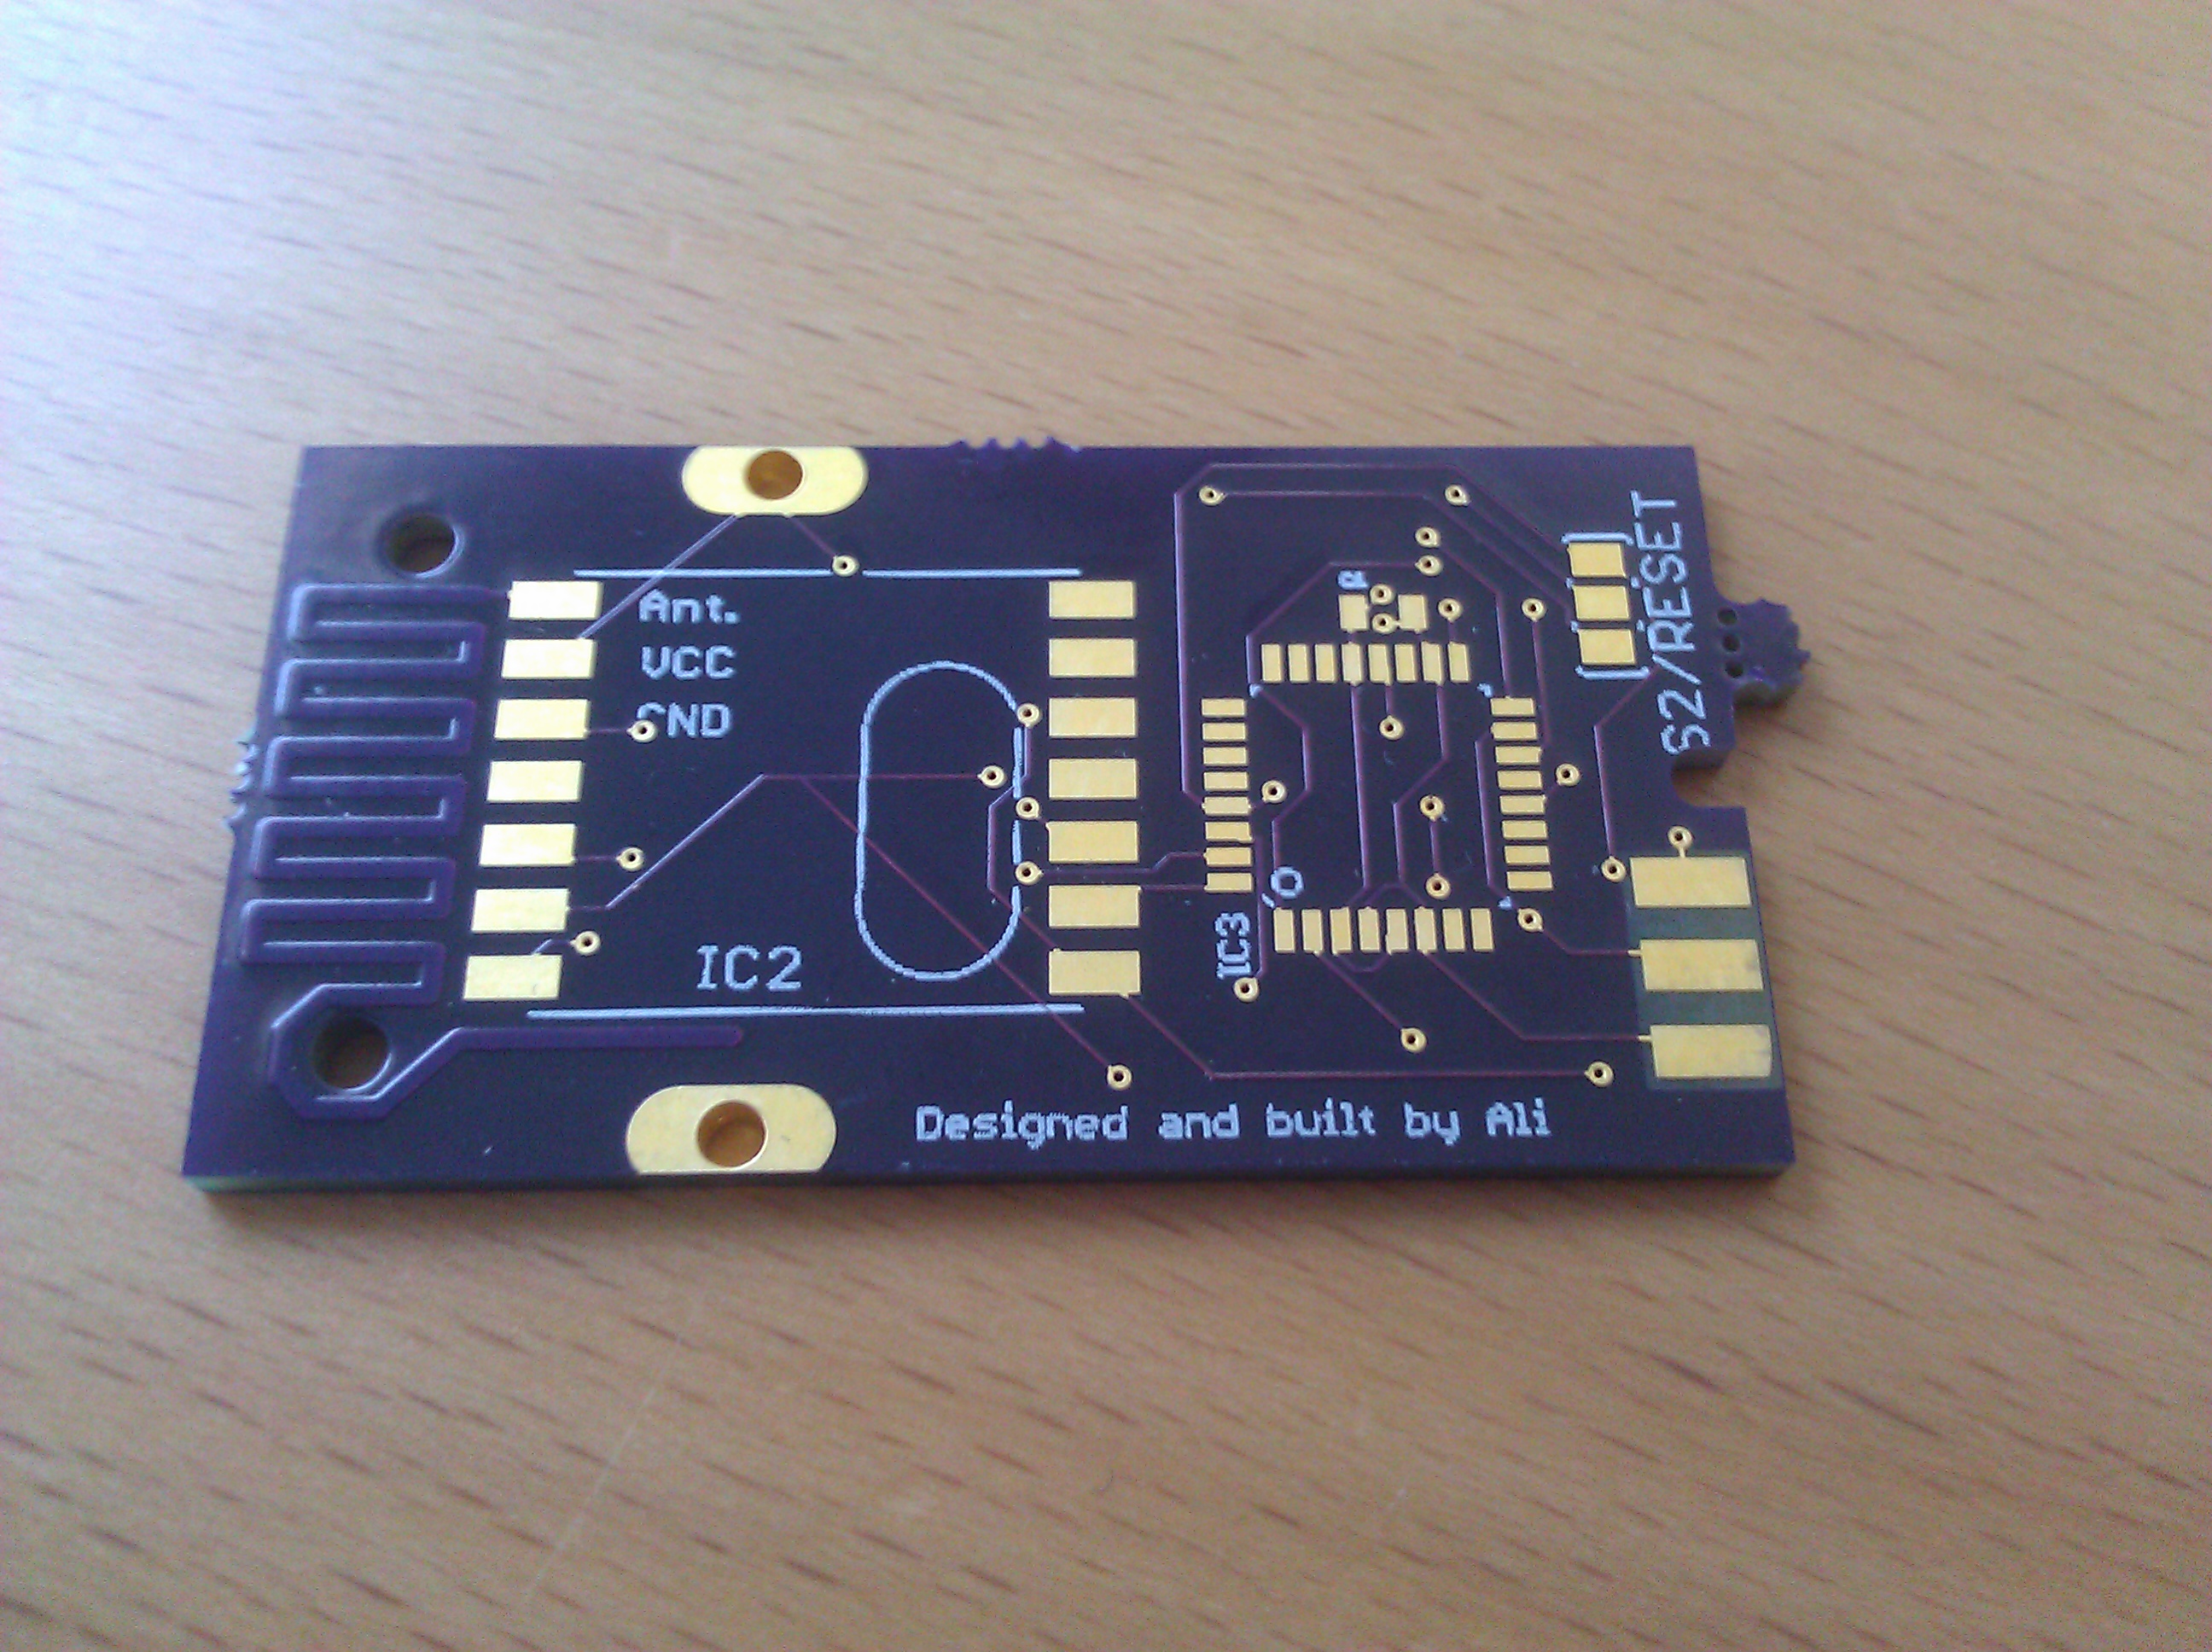 |
| I had round edges and a little notch on the “Dimension” layer. The notch is there but the round edges aren’t. I’ll have to remember to sort that out before I order the next batch. |
And when I finally held them in my hands, it wasn’t long until I discovered the first fundamental design fault: There are a bunch of vias (gold plated, even!) right where the negative terminal of the battery would go. These I would have to insulate somehow.
Later that night one of the boards looked like this:
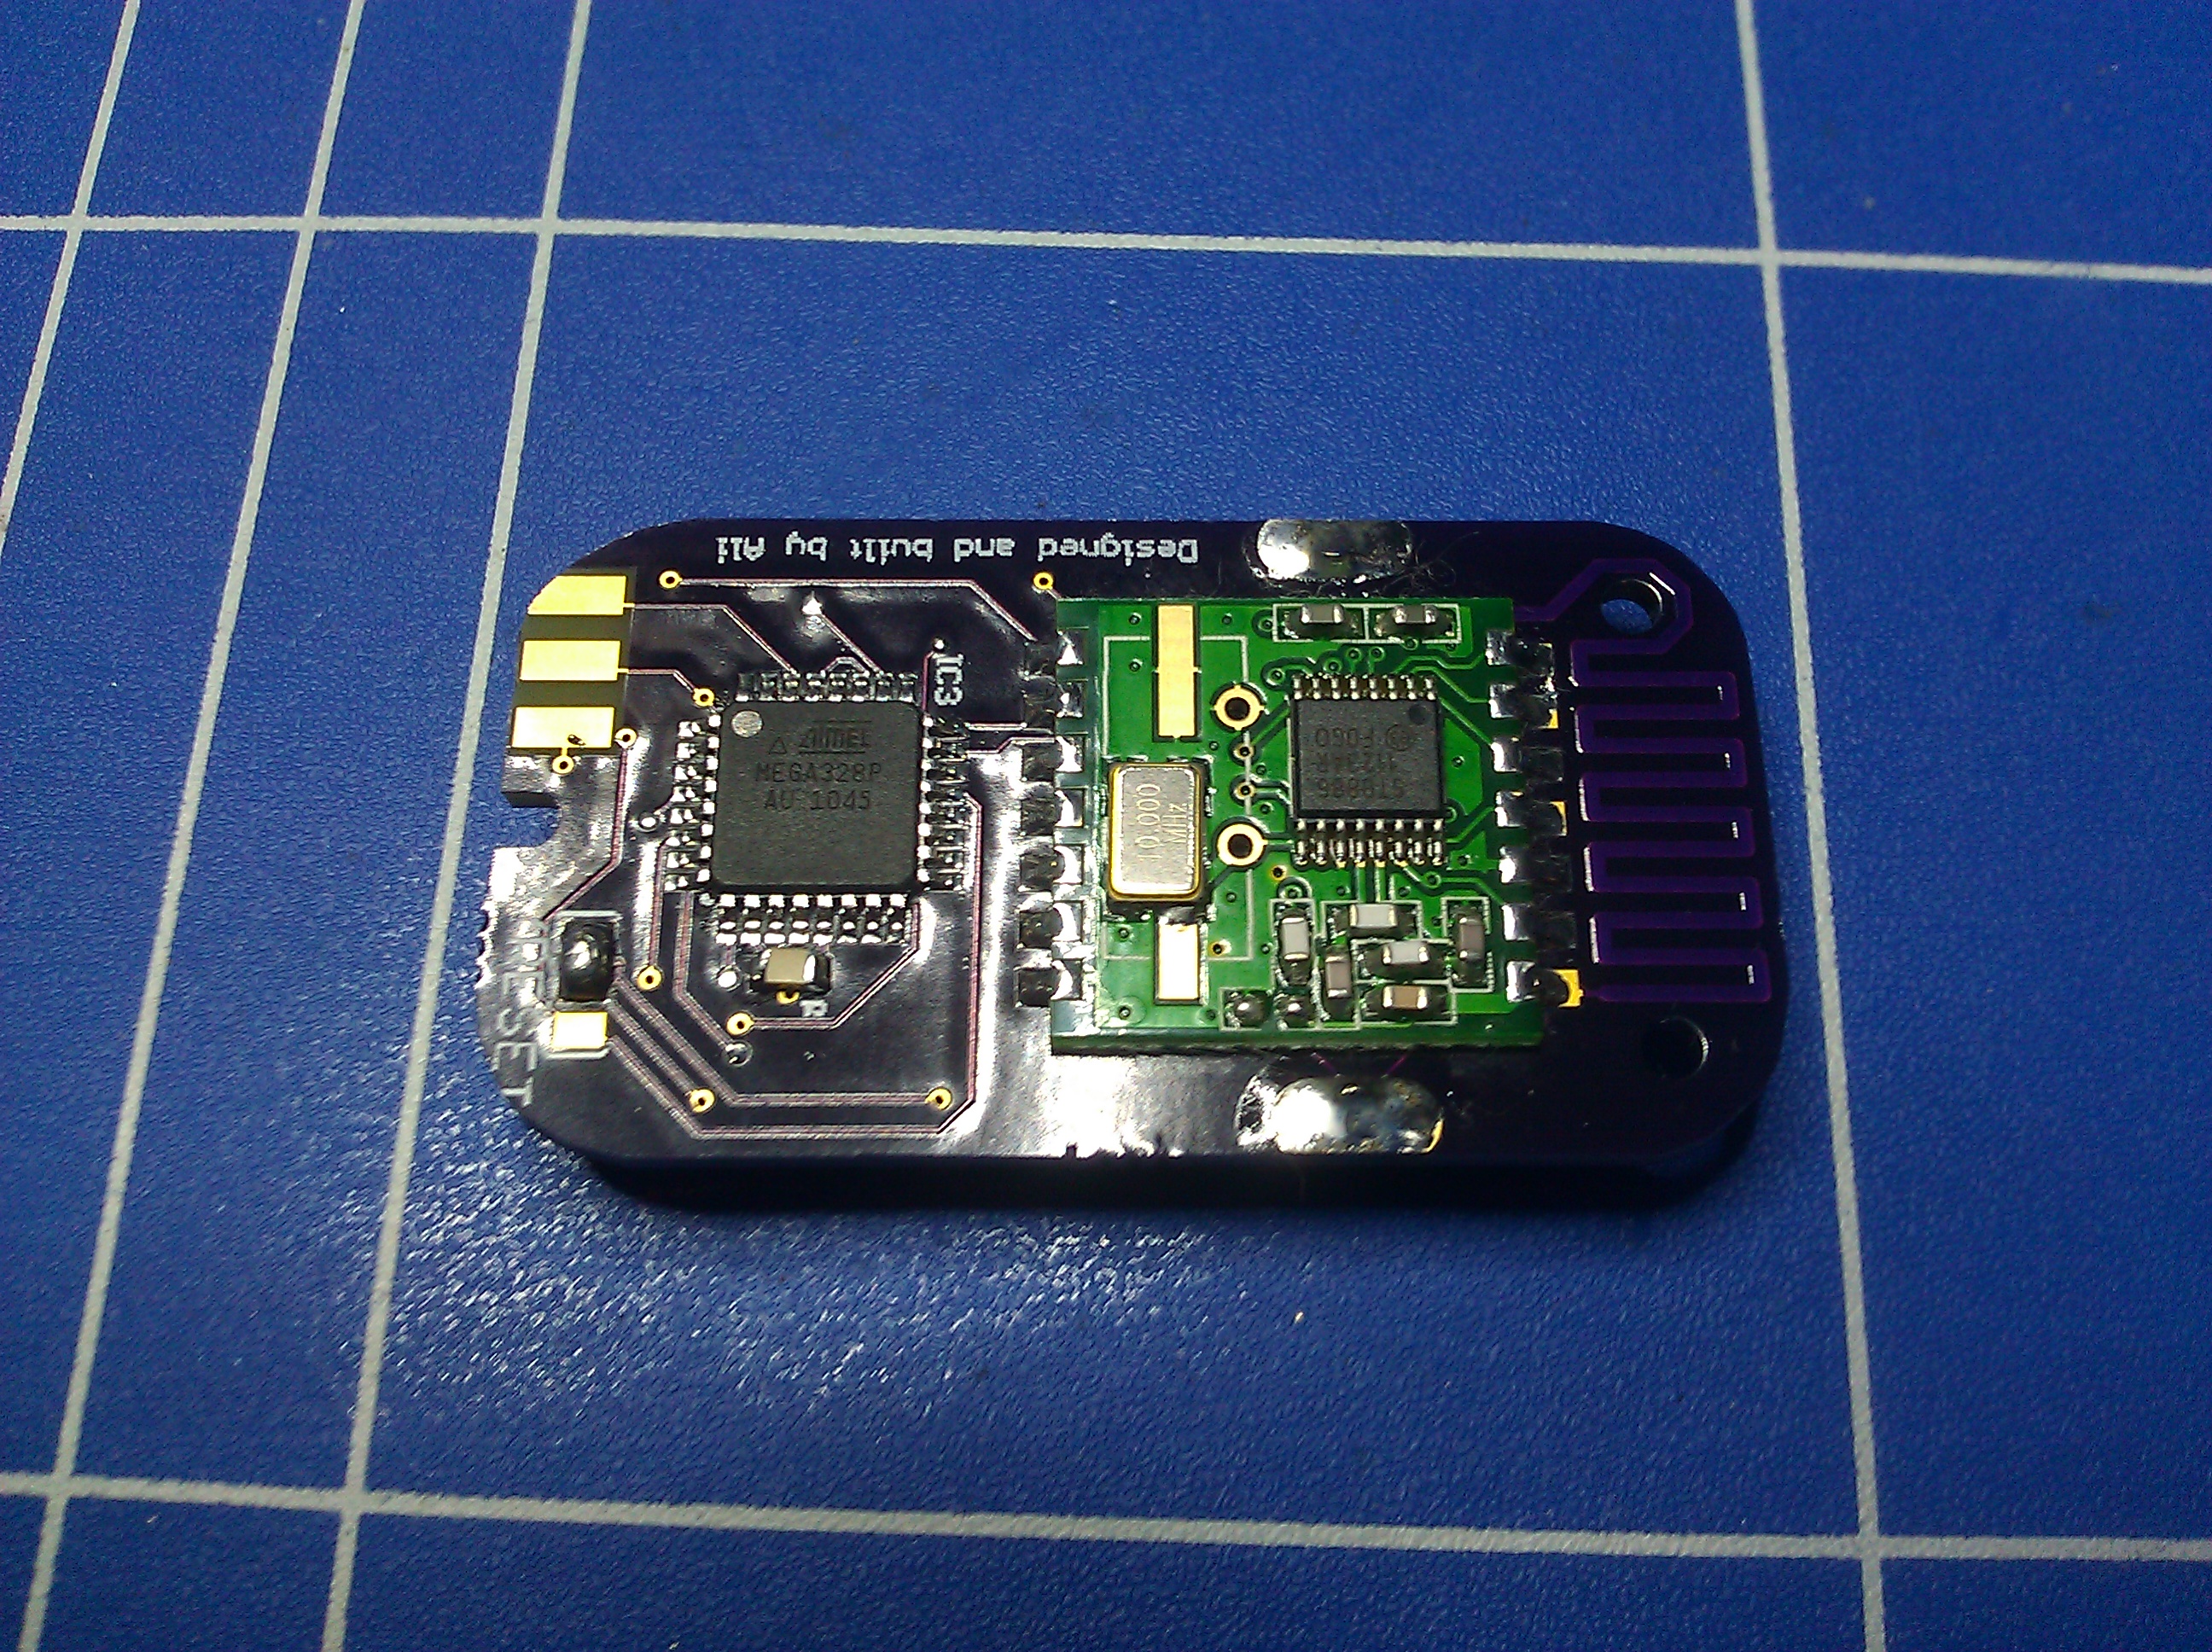 |
| The ATMega is facing the wrong way. Ignore that. |
I soldered the TQFP part using the solder wick technique shown at about 6:25 in this video (and probably many others).
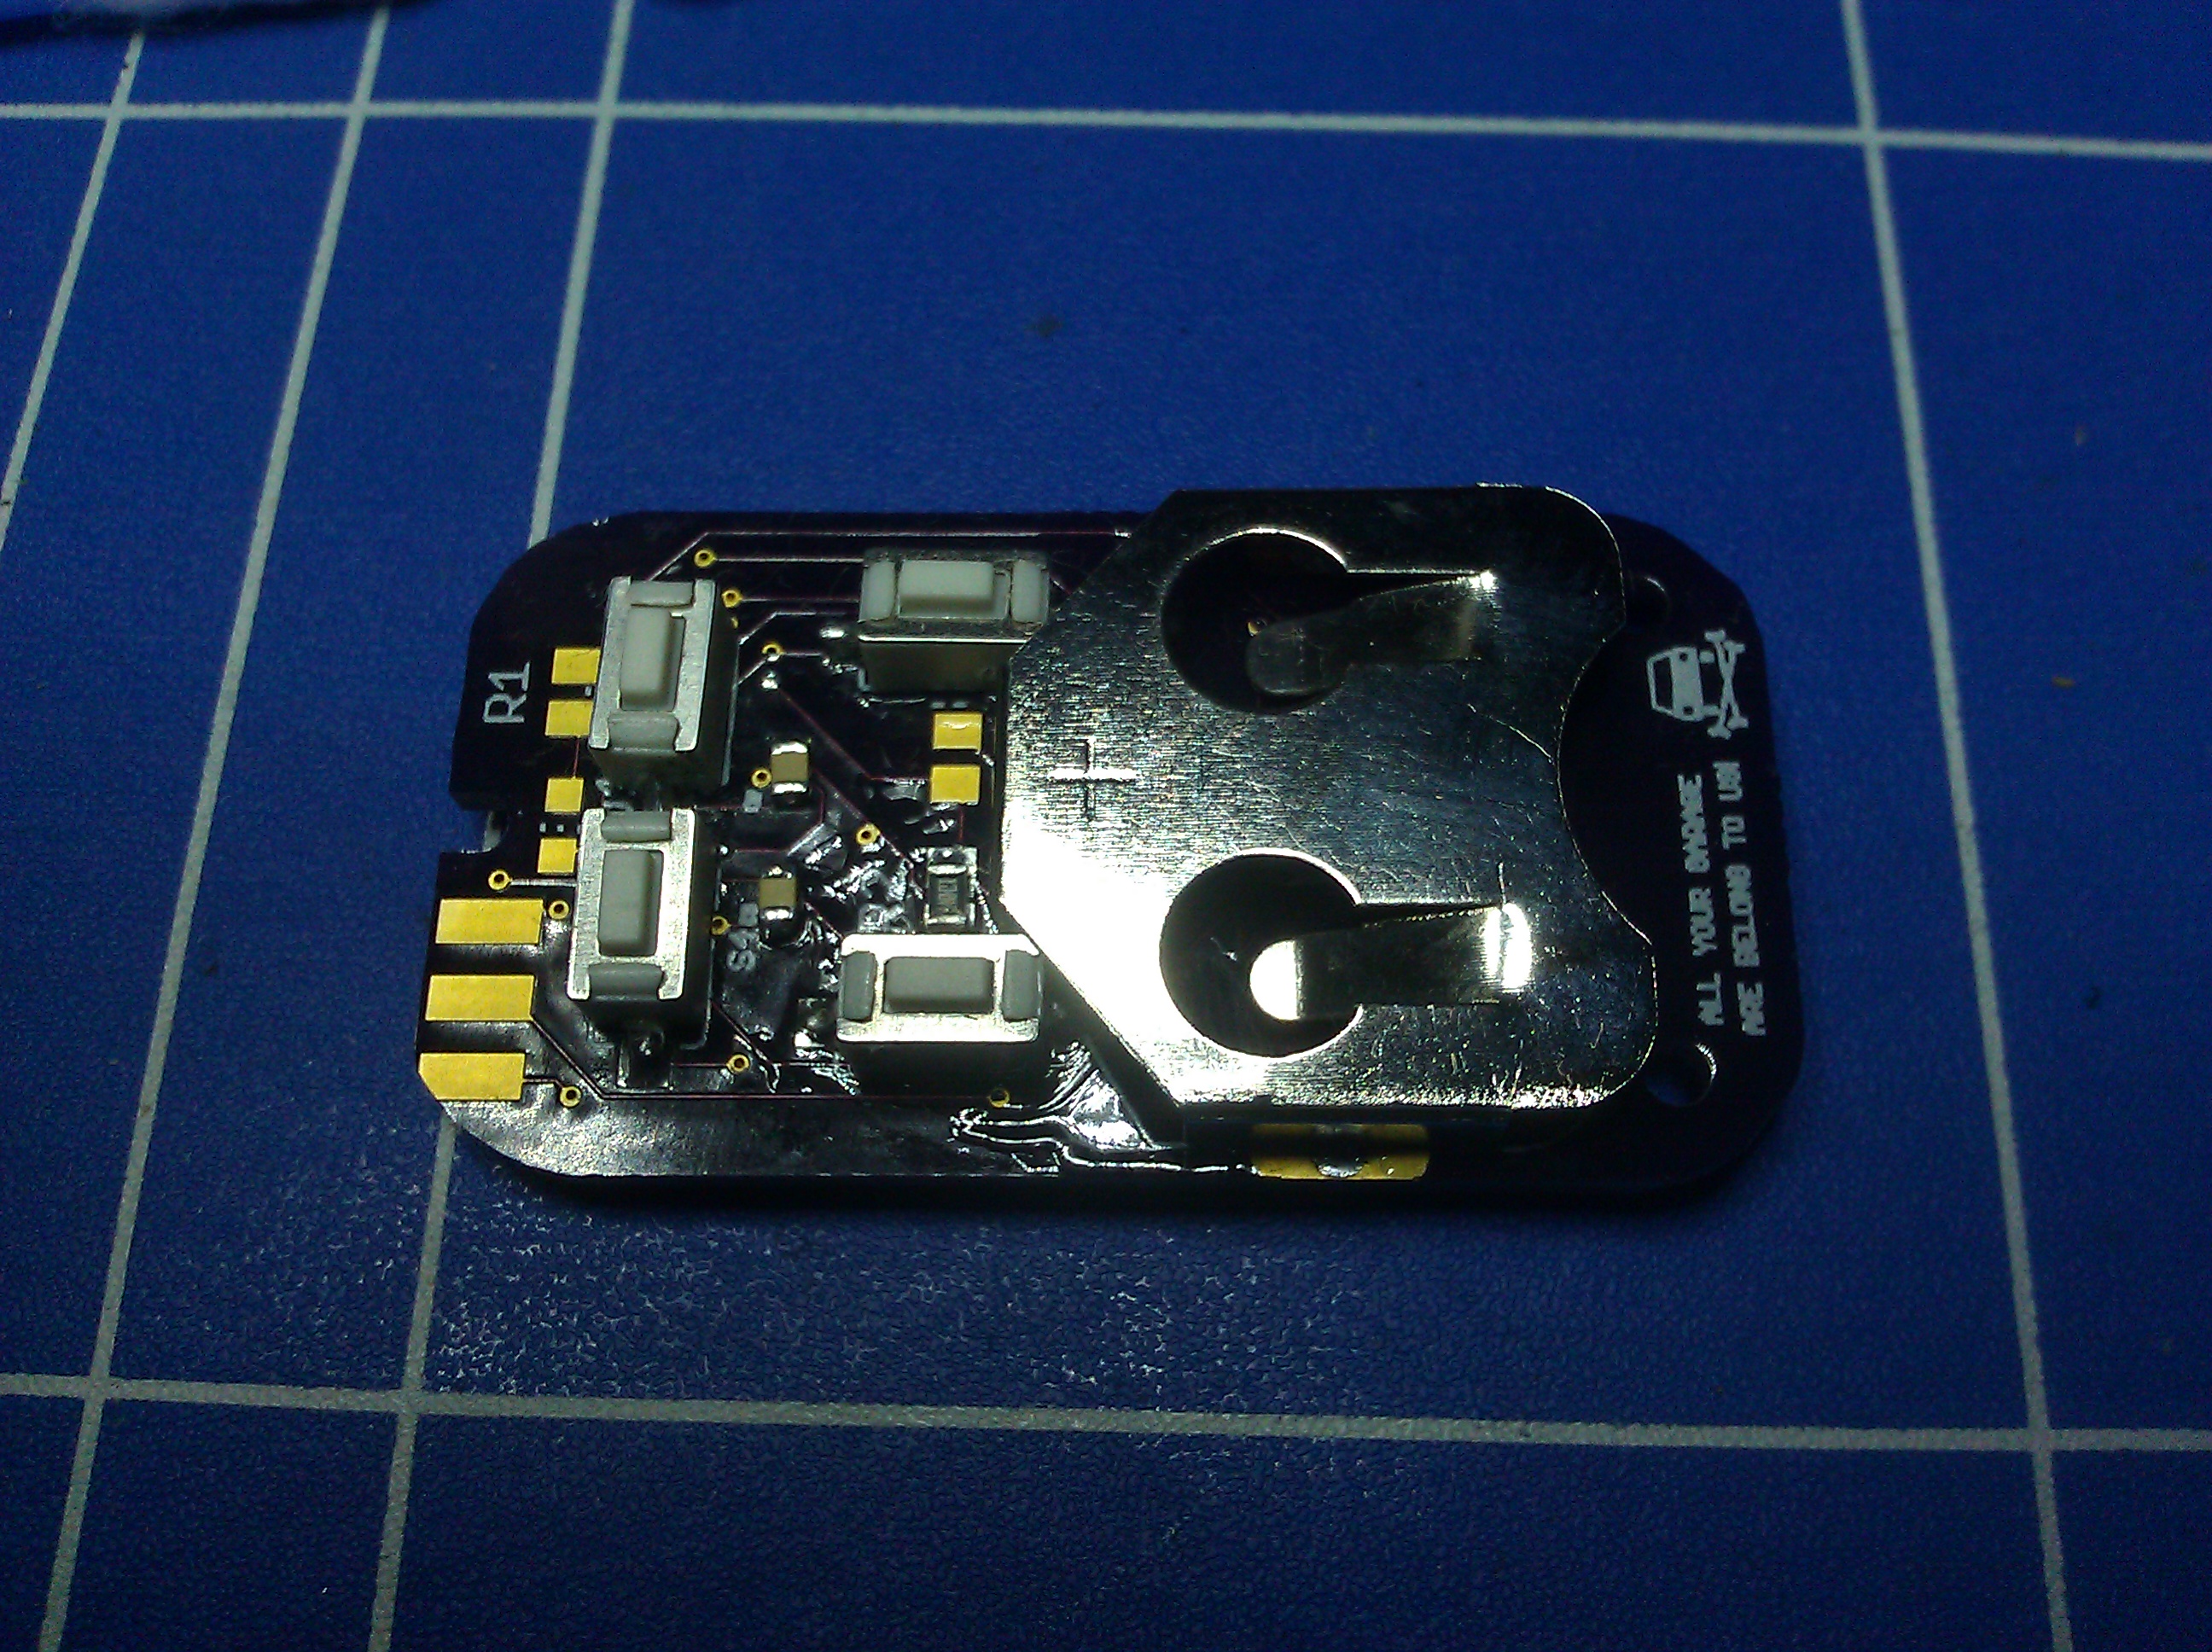 |
| I left out the LED and the accompanying resistor on this board. Also note that I left out the notches on the sides of the board. I figured that it would be easier to just cut the enclosure to fit instead. Which worked. |
I insulated the vias under the battery clip with this stuff and I also put a lot of solder on the sqaure pad in the middle to raise its level above that of the vias.
The ISP connector is done with the pads on the left. Now I had to find a connector to fit. A PCI connector should fit, or maybe an old floppy drive connector. Too bad I didn’t have any of those around. All I could find was an old connector for a C64 datasette port, if anyone still remembers those.
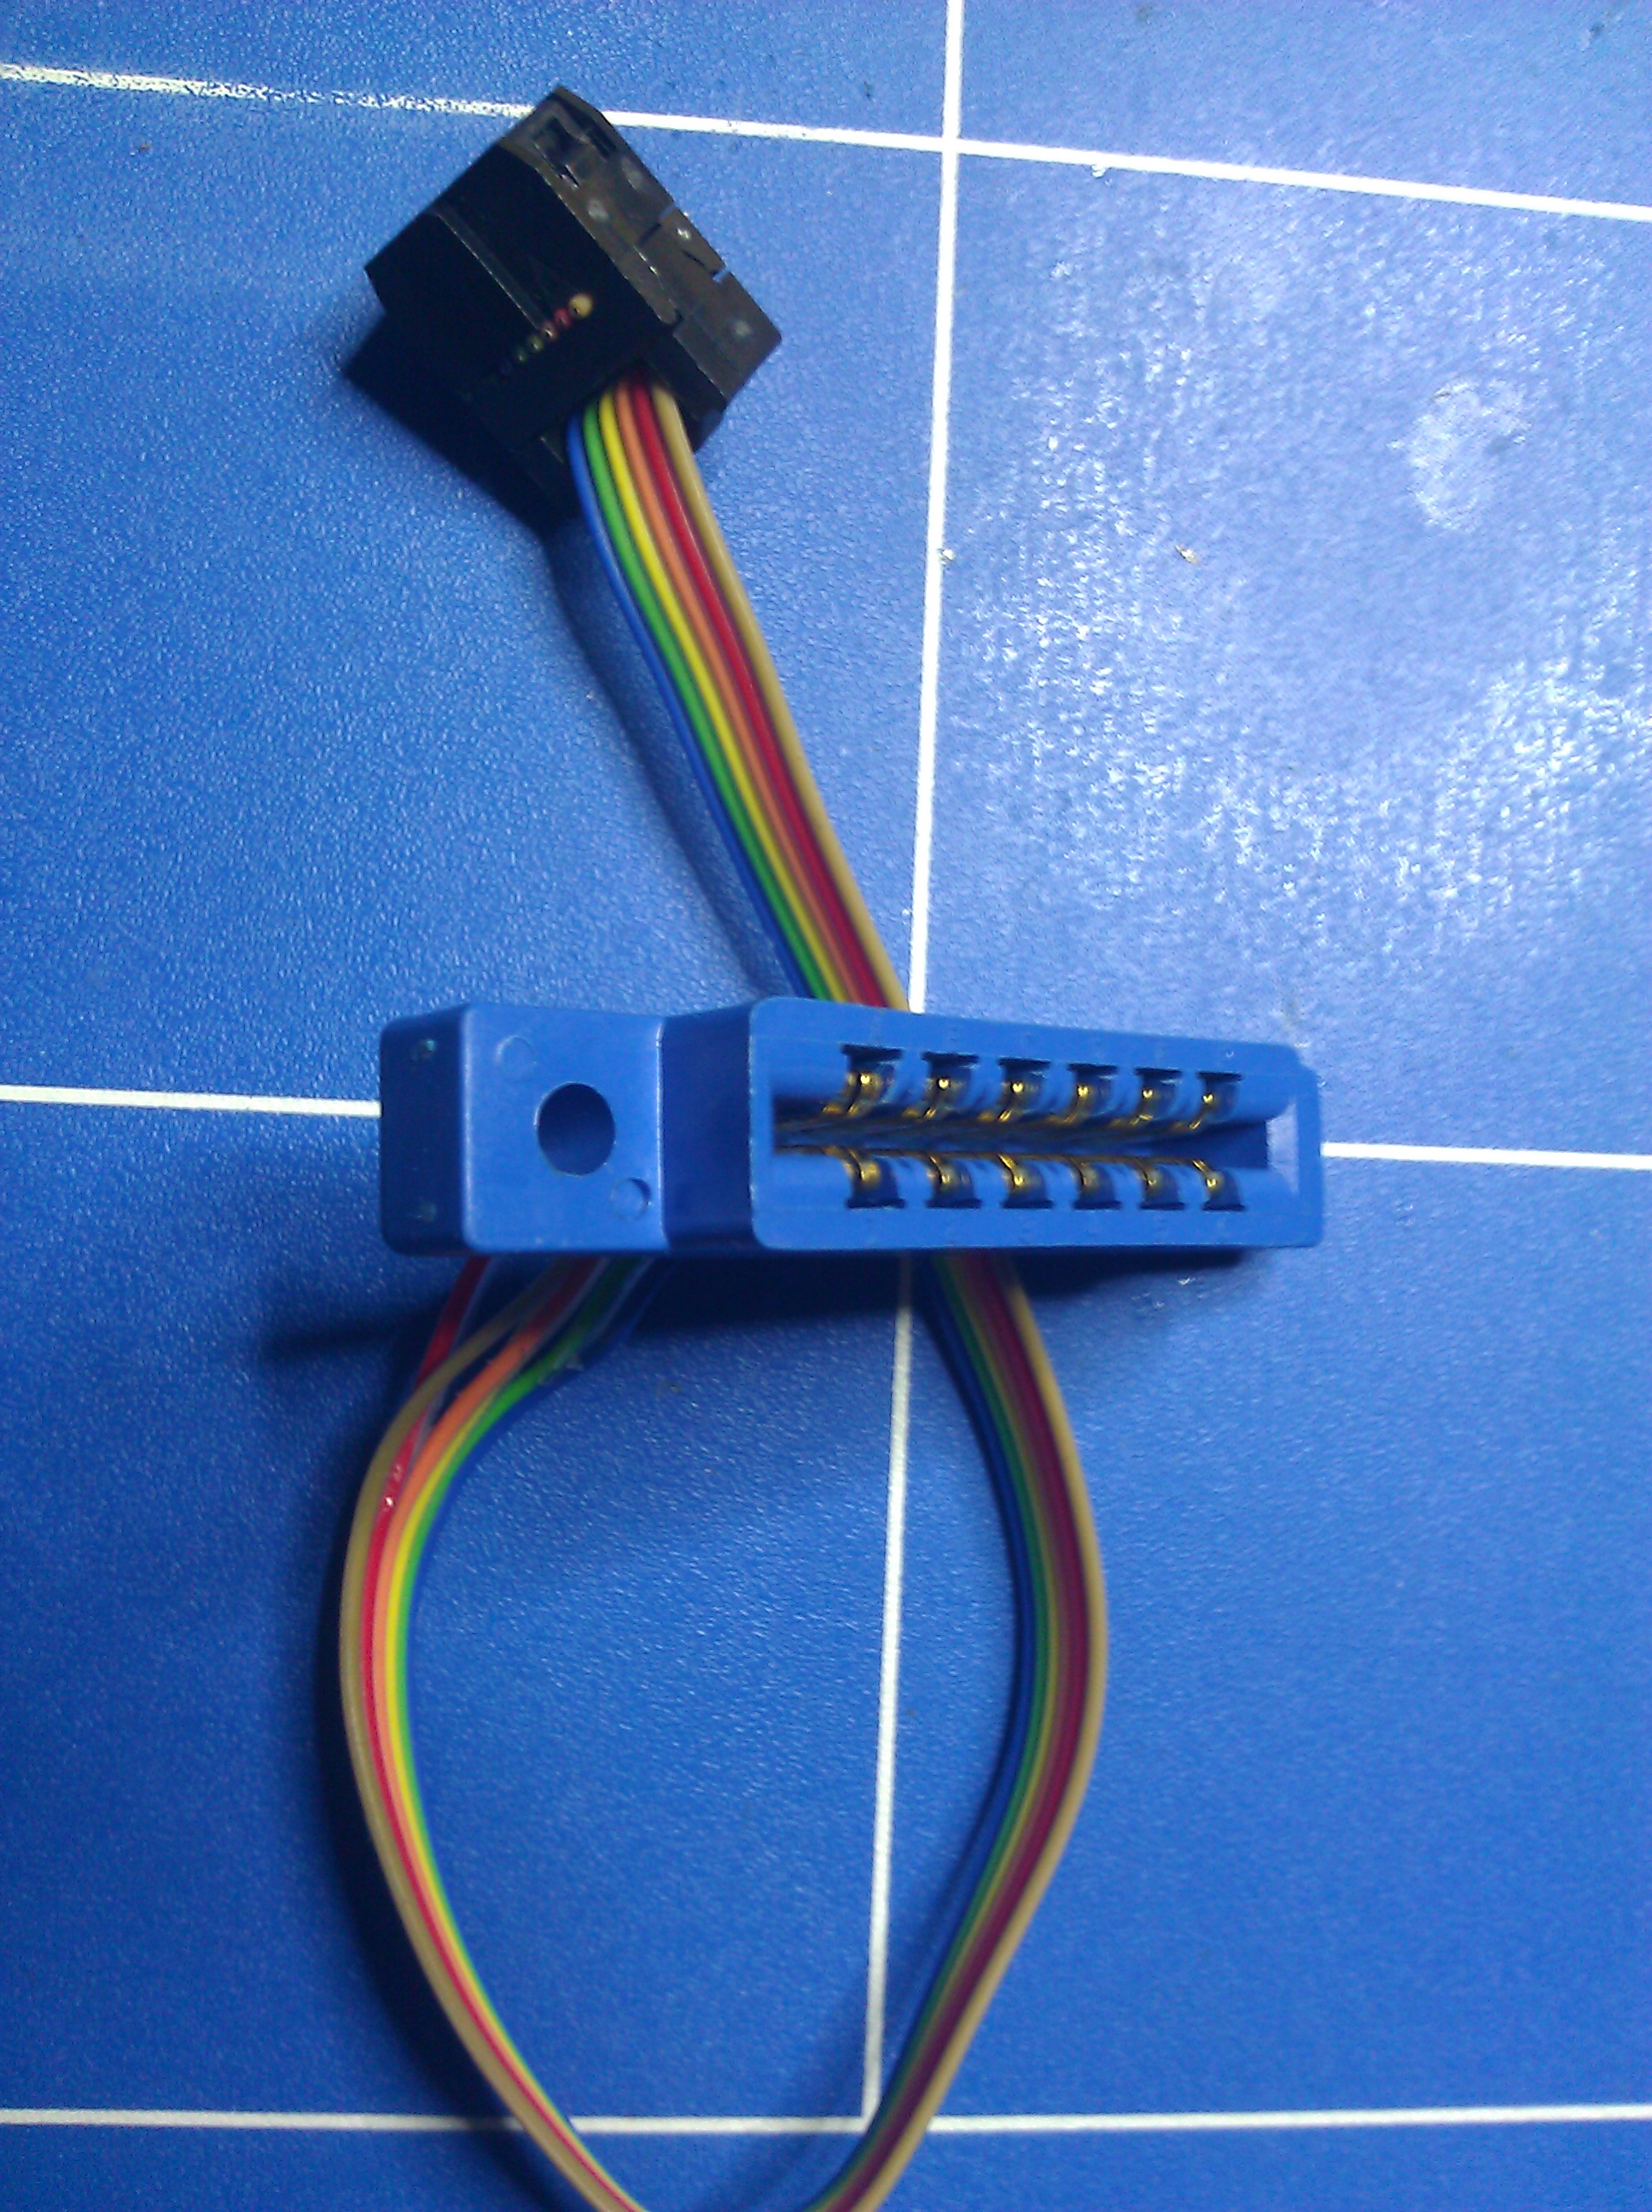 |
| My barely working ISP Plug. |
The pitch was totally off but it was the only thing I could find, so I used it. It was a royal pain in the ass but at least sometimes it worked.
Not that night, though… The programmer wouldn’t even find a controller to talk to. After checking all of the connections were good, I finally found it: The ATMega was facing the wrong way. Nice work.
De-soldering a TQFP part is no fun but it can be done. You have to add lots of solder, so that all pins are covered, and heat all four sides in a swift procession. The trick is to have the fourth side heated while the first is still hot. You’ll have to go around the chip for a few times but eventually it’ll come loose and you can just wipe it off the board. The major rule is: Patience > Violence.
After having this fixed I could flash the controller but the damn thing still wouldn’t work. I had to get out the logic analyzer. Luckily the connection between the ATMega and the RFM12B is an SPI connection, which is basically the same as the ISP connection for the programmer, and it also uses the same pins (mostly). So I could connect all but one of the analyzer probes to the programming connector. With help of the analyzer I could see that the controller was talking to the RFM12B on the MOSI line but wasn’t getting an answer on the MISO line. This meant that the RFM12B wasn’t working properly for whatever reason, most probably a short circuit somewhere on the board.
After poking around with the multimeter for another while I found it. Or, more precisely, I found out which nets were shorted out, but I had no idea where.
By now I had a little practice in de-soldering larger SMD parts, but even after removing the ATMega and the RFM12B (the de-soldering trick described for the ATMega works with that, too), the short was still there. It was between the SEL signal of the RFM12B and VCC, i.e. the positive terminal of the battery. But since these two nets virtually never cross paths or even come close to one another it had to be somewhere else. And here it was:
 |
| The SEL trace of the RFM12B crossing the drawing of the battery clip on the “Dimension” layer. Looks perfectly innocent in Eagle. |
This is what it looks like in real life:
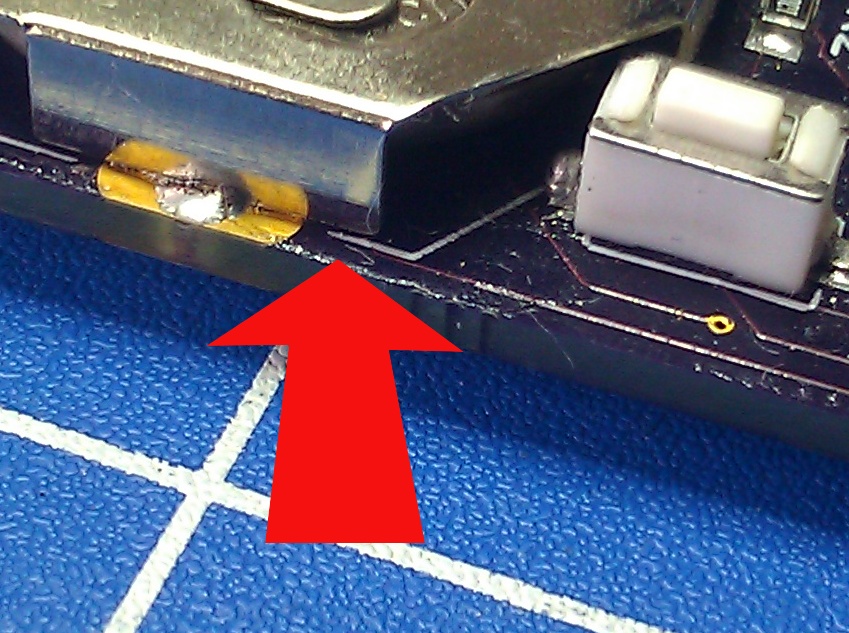 |
| Not so much in real life. The metal of the battery clip cut through the soldermask somehow and shorted out VCC with SEL. |
After gently bending the battery clip everything worked like a charm. Well, at least the hardware did.
The software:
The PoC didn’t have a real program logic at all. As soon as you connected the power, it would transmit away. For this project I wanted something slightly more elegant. In addition to just sending the garage opening signal, the buttons should send something I could use around the house, like a unique ID, that I could process in projects to come. Also I had to do something about the current consumption. Both, the ATMega328p and the RFM12B have ultra low power sleep modes and I needed to utilize those to make the coin cell last more than a few hours. Again I had lots of help from the internets, particularly here and here somewhere near the bottom. After some tweaking I had the standby power consumption down to under 1 µA.
At this point I’d like to praise the Internet. I couldn’t do shit without it.
The only problem with the code was that it wasn’t very stable, and I couldn’t really fix that.
(The PCB design actually reflects how little trust I had in my own coding skills: I put in a little solder jumper to be able to use one of the keys as a reset button for the AVR. But that was planned as a last resort in case I really couldn’t get the code to run properly.)
Luckily, for cases just like this, the ATMega (and probably other microcontrollers as well) has a watchdog timer, that will reset the whole controller if you don’t reset the timer before it runs out. After implementing that, everything is running smoothly for several days now.
Conclusion:
I’ve learned quite a few things about PCB design doing this project:
- Don’t trust the autorouter of your PCB design software. Better yet, on a project as simple as this, don’t even use it.
- Think 3D! It’s hard to imagine a
real life PCB just from an Eagle layout. There are 3D rendering plugins for Eagle and other software with this functionality built in, but I found it the easiest to just print out the PCB layout on a piece of paper and place the parts on it. - Only use parts in your design that are actually available to you. I have yet to find a correctly pitched edge connector for the ISP connection.
Total cost of the project:
- PCB: 3.30 €
- ATMega328p: 1.80 €
- RFM12B: 4.00 €
- Chinese fake-cloning-remote: 2.50 €
Makes a total of 11.60 € or US $ 14.35 at the time of writing. All prices include tax and shipping and all items were purchased in low volumes.
Files:
All design files as well as the source code for the controller are available at my github repository:
Update:
As it turned out, the watchdog timer (or rather the way I implemented it) didn’t really help, actually it made matters worse! After a long and tedious debugging process I finally think I’ve got it right. Read about it here.
Well done – both the work and the blog.
Thanks!
Great project!
Where can I find the design files?
I updated the post to include a link to the repo. I guess I forgot to re-add it after cleaning up my github account..
Thanks!
Hi Alexander,
Have you a PCB of this keyfob for selling?
I've got one of the original PCBs left. If you give me some means to get in touch, we can sort this out.
Hi
how do you find the performance of your pcb trace antenna at 868MHz? What distance do you get?
It's quite awful. It works around the house, but compared to a simple piece of wire it's shit. I'd recommend a proper chip antenna if you're constrained for space, but those also need a bit of board real estate.